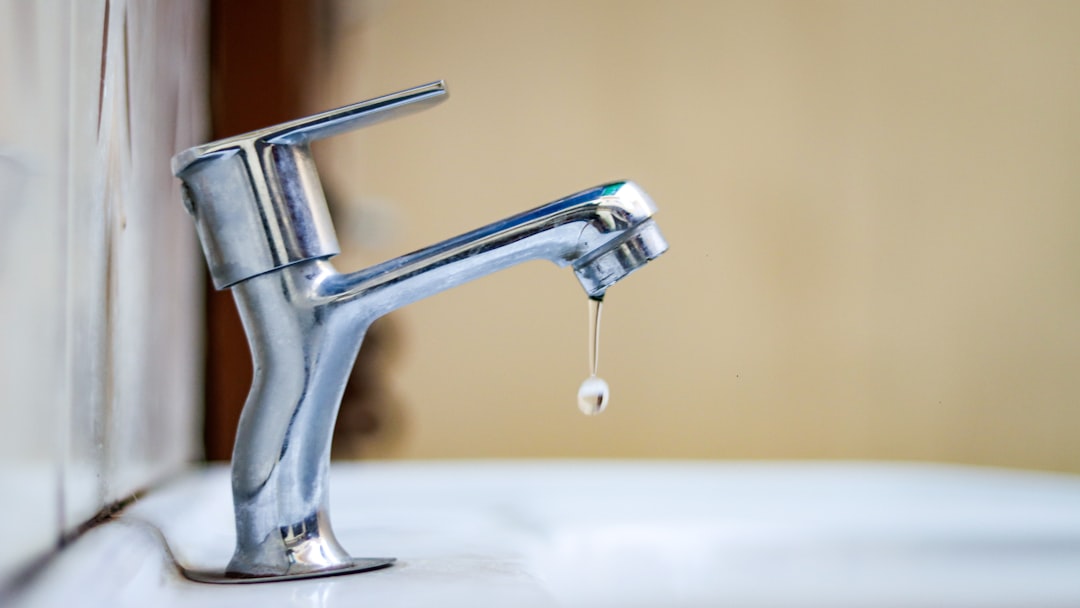
A leaky faucet or pipe represents more than a minor inconvenience; it results in substantial water waste and elevated utility costs. Determining the leak’s source is essential for successful repair. Leaks originate from multiple components, including deteriorated washers, corroded pipes, or loose fittings.
In faucets, the primary sources are O-rings and washers, which degrade over time due to continuous friction and water exposure. Identifying whether the leak emerges from the spout, handle, or base of the faucet is necessary to determine the appropriate repair method. Pipe leaks frequently develop at joints or connections where two sections meet.
Corrosion, temperature fluctuations, and pressure variations can compromise these areas, causing leaks. Furthermore, older plumbing systems may contain pipes manufactured from materials susceptible to leaks, such as galvanized steel or polybutylene. Accurate leak identification requires a comprehensive inspection.
This process includes examining visible water stains, detecting dampness on walls or ceilings, and listening for dripping sounds. By locating the exact position and cause of the leak, homeowners can proceed with informed repair decisions.
Tools and Materials: What You’ll Need for the Job
Before embarking on any plumbing repair project, it is essential to gather the necessary tools and materials. For fixing a leaky faucet, you will typically need a few basic tools: an adjustable wrench, a screwdriver (flathead and Phillips), and pliers. Additionally, having a basin wrench can be particularly useful for reaching tight spaces under sinks.
As for materials, replacement washers or O-rings specific to your faucet model are crucial. It’s advisable to take the old parts to a hardware store to ensure you purchase the correct replacements. When addressing a leaky pipe, the toolkit expands slightly.
In addition to the aforementioned tools, you may require pipe cutters or a hacksaw for cutting through damaged sections of pipe. Teflon tape is also essential for sealing threaded connections to prevent future leaks. Depending on the severity of the leak, you might need pipe repair clamps or epoxy putty as temporary solutions until a more permanent fix can be implemented.
Having all these tools and materials on hand before starting the repair will streamline the process and minimize frustration.
Step-by-Step Guide: Repairing a Leaky Faucet
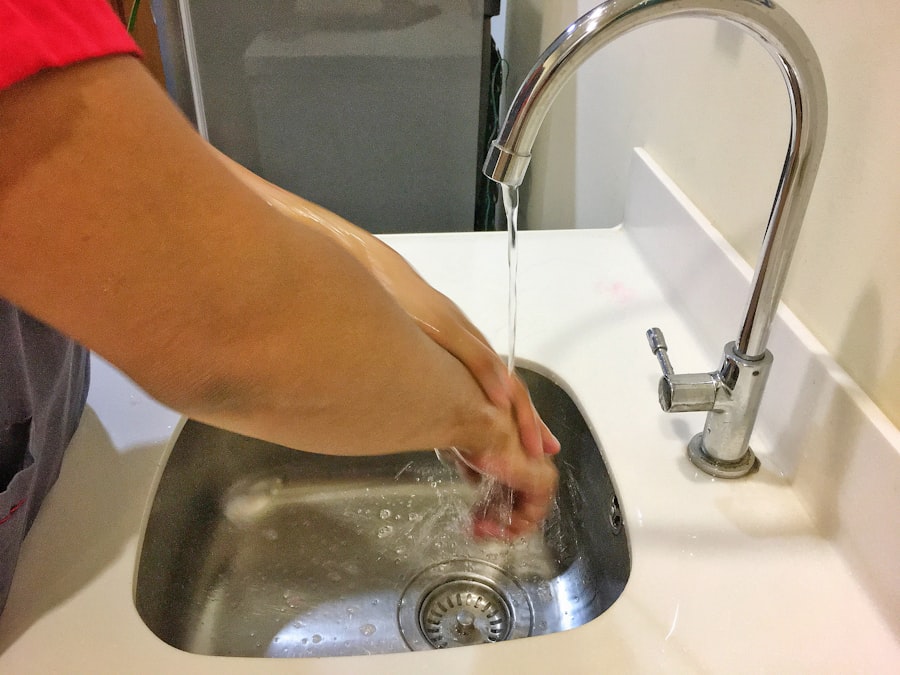
Repairing a leaky faucet can be a straightforward task if approached methodically. Begin by turning off the water supply to the faucet. This is typically done by locating the shut-off valves under the sink and turning them clockwise until they are fully closed.
Once the water is off, relieve any remaining pressure by turning on the faucet until no more water flows out. Next, use a screwdriver to remove any decorative caps on the faucet handle, exposing the screws underneath. Unscrew these and gently lift off the handle.
With the handle removed, you will have access to the internal components of the faucet. Depending on your faucet type—compression, cartridge, ball, or ceramic disc—the repair process may vary slightly. For compression faucets, inspect the rubber washers and O-rings for wear and replace them as needed.
For cartridge faucets, you may need to remove the cartridge itself and replace it entirely if it shows signs of damage. After replacing any worn parts, reassemble the faucet in reverse order, ensuring all screws are tightened securely but not overly so to avoid stripping threads.
Step-by-Step Guide: Fixing a Leaky Pipe
Fixing a leaky pipe requires careful attention to detail and safety precautions. Start by turning off the main water supply to your home to prevent further water damage while you work. Once the water is off, drain any remaining water from the pipes by opening faucets at lower levels in your home.
Identify the location of the leak; this may involve removing insulation or accessing hidden pipes in walls or ceilings. If you find that a section of pipe is corroded or cracked, you will need to cut out that section using pipe cutters or a hacksaw. After removing the damaged section, measure and cut a new piece of pipe that matches the diameter of your existing plumbing.
Use Teflon tape on threaded ends to ensure a watertight seal when connecting new fittings. If you are using PVC pipes, apply PVC cement according to manufacturer instructions for a secure bond. For copper pipes, soldering may be necessary; this involves heating the joint with a torch and applying solder until it flows into the joint.
Once everything is connected and secure, turn on the main water supply slowly while checking for leaks at your repair site.
Preventative Maintenance: Tips for Avoiding Future Leaks
| Step | Task | Tools/Materials Needed | Estimated Time | Tips for Efficiency |
|---|---|---|---|---|
| 1 | Identify the Leak Source | Flashlight, towel | 10-15 minutes | Turn off water supply before inspection to avoid mess |
| 2 | Turn Off Water Supply | Shutoff valve or main water valve | 5 minutes | Label valves for future quick access |
| 3 | Disassemble Faucet or Pipe Joint | Adjustable wrench, screwdriver | 15-20 minutes | Keep parts organized to avoid confusion during reassembly |
| 4 | Inspect and Replace Washers or O-Rings | Replacement washers/O-rings, lubricant | 10-15 minutes | Use exact size replacements to prevent future leaks |
| 5 | Seal Pipe Threads (if applicable) | Plumber’s tape (Teflon tape) | 5 minutes | Wrap tape clockwise for a tight seal |
| 6 | Reassemble and Tighten Components | Wrench, screwdriver | 10-15 minutes | Do not overtighten to avoid damage |
| 7 | Turn On Water Supply and Test | None | 5-10 minutes | Check for leaks carefully and listen for drips |
| 8 | Clean Up Work Area | Towels, cleaning supplies | 5 minutes | Dispose of old parts properly |
Preventative maintenance is key to avoiding future leaks in your plumbing system. Regularly inspecting your faucets and pipes can help catch potential issues before they escalate into significant problems. For faucets, consider replacing washers and O-rings every few years as part of routine maintenance.
Additionally, check for signs of corrosion or wear around fittings and connections. Keeping an eye on water pressure is also important; excessively high pressure can strain pipes and lead to leaks over time. For pipes, insulation is crucial in preventing leaks during colder months when temperatures drop below freezing.
Insulating exposed pipes in unheated areas can help prevent them from freezing and bursting. Furthermore, consider installing water leak detectors in areas prone to leaks; these devices can alert you to moisture before it causes extensive damage. Regularly flushing your water heater can also prevent sediment buildup that could lead to leaks in hot water lines.
When to Call a Professional: Signs That You Need Help
While many plumbing repairs can be tackled by homeowners with some basic skills and tools, there are situations where calling a professional is advisable. If you encounter persistent leaks despite your best efforts at repair, it may indicate a more serious underlying issue that requires expert assessment. Additionally, if you notice significant water damage in your home—such as mold growth or structural damage—it’s crucial to seek professional help immediately to mitigate further harm.
Another sign that you should call in a professional is if you are unsure about how to proceed with a repair or if you lack confidence in your plumbing skills. Complex plumbing systems can be intricate, and attempting repairs without adequate knowledge can lead to costly mistakes or even exacerbate existing problems. Professionals have specialized training and experience that enable them to diagnose issues accurately and implement effective solutions efficiently.
Common Mistakes to Avoid: Pitfalls to Watch Out For
When undertaking plumbing repairs, several common mistakes can hinder progress or lead to further complications. One frequent error is neglecting to turn off the water supply before starting work; this can result in unexpected flooding and damage to your home. Always ensure that you have shut off all relevant valves before beginning any repair task.
Another pitfall is using incorrect materials or tools for repairs. For instance, using duct tape as a temporary fix for leaking pipes may seem like an easy solution but often leads to more significant issues down the line if not addressed properly. Additionally, failing to follow manufacturer instructions when replacing parts can result in improper installation and recurring leaks.
Taking time to research and understand each step of your repair process will help avoid these common mistakes.
Enjoying a Leak-Free Home
Achieving a leak-free home requires diligence in both repairs and preventative maintenance practices. By understanding how to identify leaks and effectively address them with appropriate tools and techniques, homeowners can save money on utility bills while protecting their property from water damage. Regular inspections and timely repairs are essential components of maintaining a healthy plumbing system.
Moreover, fostering an awareness of when professional assistance is necessary ensures that more complex issues are handled appropriately without risking further damage or complications. By avoiding common pitfalls and implementing preventative measures, homeowners can enjoy peace of mind knowing their plumbing system is functioning optimally—ultimately leading to a more comfortable living environment free from leaks and associated problems.
FAQs
What are the common causes of leaky faucets and pipes?
Leaky faucets and pipes are often caused by worn-out washers, damaged O-rings, corroded valve seats, loose or damaged parts, and high water pressure. Over time, these components can degrade, leading to leaks.
What tools do I need to repair a leaky faucet or pipe?
Common tools include an adjustable wrench, screwdrivers, pliers, plumber’s tape (Teflon tape), replacement washers or O-rings, pipe sealant, and sometimes a pipe cutter or pipe wrench depending on the repair.
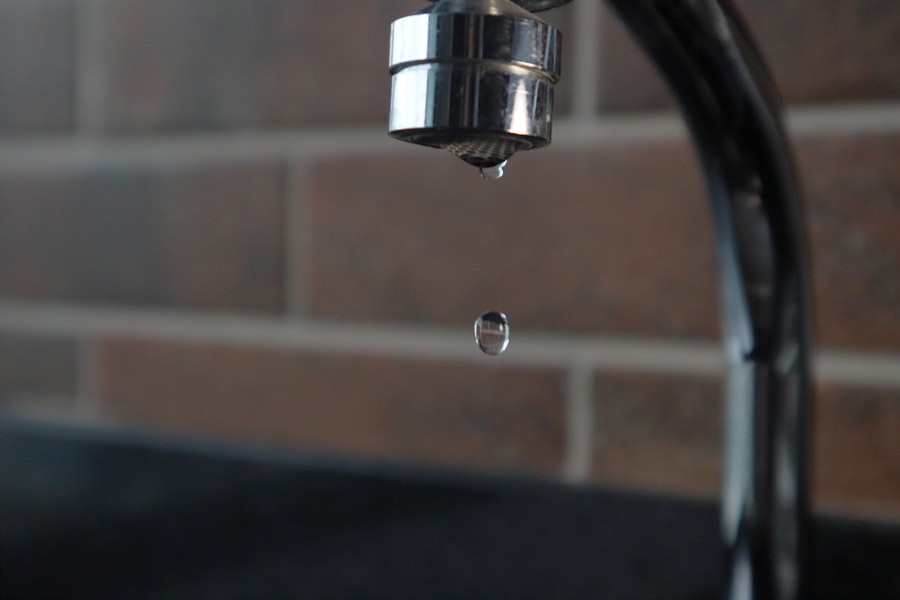
How can I identify the source of a leak in a faucet or pipe?
To identify the source, first turn off the water supply, then inspect the faucet or pipe for visible drips or moisture. For faucets, leaks often occur around the handle or spout. For pipes, check joints and connections for wetness or corrosion.
Is it necessary to turn off the water supply before repairing leaks?
Yes, always turn off the water supply before attempting any repairs to prevent water damage and ensure safety during the repair process.
Can I repair a leaky faucet or pipe myself, or should I hire a professional?
Many minor leaks can be repaired by homeowners with basic tools and instructions. However, if the leak is severe, persistent, or involves complex plumbing, it is advisable to hire a licensed plumber.
How can I prevent future leaks in faucets and pipes?
Regular maintenance, such as checking and replacing worn washers and O-rings, avoiding excessive water pressure, and inspecting pipes for corrosion or damage, can help prevent leaks.
What types of faucets are easier to repair?
Compression faucets are generally easier to repair because they have simple components like washers and O-rings. Cartridge, ball, and ceramic-disk faucets may require more specialized parts and knowledge.
How long does it typically take to repair a leaky faucet or pipe?
Minor repairs can take anywhere from 15 minutes to an hour, depending on the complexity of the leak and the type of faucet or pipe involved.
Are there any safety precautions to consider when repairing leaks?
Yes, always turn off the water supply, use appropriate tools, wear protective gloves if necessary, and ensure the work area is dry to prevent slips or electrical hazards.
What materials are best for replacing old pipes to prevent leaks?
Materials like copper, PEX (cross-linked polyethylene), and CPVC (chlorinated polyvinyl chloride) are commonly used for their durability and resistance to corrosion, reducing the likelihood of leaks.